


Table of Contents
簡単な答え:時計ブレスレットのサイズ調整はどうやって行いますか?
時計ブレスレットのサイズ調整は、リンクの方向矢印を見つけ、ピン押し器で示された方向にスプリットピンを外し、必要なリンク数を取り除き、反対方向からピンを再挿入します。柔らかい面で作業し、ブレスレットを安定させて常に正しい方向にピンを押すことで曲がりを防ぎます。
時計ブレスレットを初めて自分の手首に合わせて調整するのは特にスプリットピンの場合、難しく感じるかもしれません。ピンを逆方向に押すと曲がったりリンクを傷つけたりするリスクがあります。しかし、適切な工具と技術があれば、全工程は10分以内で、時計修理の経験は不要です。
このガイドではスプリットピンの仕組み、使用する工具、そして自宅で安全にブレスレットをサイズ調整する正確な手順を説明します。
スプリットピンとねじ:ブレスレットのシステムを知る
始める前に、ブレスレットがどの接続システムを使っているかを確認してください。方法はそれぞれ異なります。
| システム | 見た目 | 取り外し方法 | 難易度 |
|---|---|---|---|
| ねじ | リンクの側面に見えるねじ頭 | 細いマイナスドライバーでねじを外す | 簡単 |
| スプリットピン | リンク内の先端が広がった小さな金属棒 | 正しい方向にピン押し器で押し出す | 中程度 - 方向が重要 |
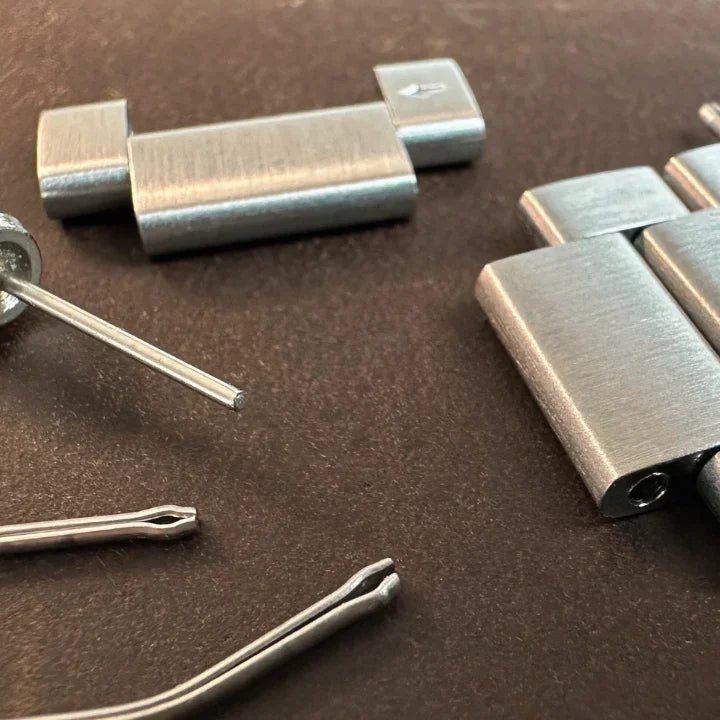
スプリットピンは多くの高品質ブレスレットで一般的です。リンク内で摩擦を生み出し、ねじ込みではないため安全ですが、取り外しには注意が必要です。最もよくあるミスは逆方向に押すことです。ピンに触れる前に必ず方向矢印を確認してください。
必要な工具
ブレスレットのサイズ調整には専門の時計技師用機器は必要ありません。2つの方法が効果的です:
- ねじ式ピン押し器(推奨):ピン穴に正確に合わせて、制御された圧力でスムーズにピンを押し出します。初心者にはハンマータイプより信頼性があります。
- 基本的なピン押し器と小さなハンマー:よく機能しますが、手が安定している必要があります。頑固なピンに追加の力を加えるのに適しています。
基本的なピンプッシャーは2~3ドルで購入でき、ほとんどの標準的なブレスレットに対応します。調整可能なネジ式プッシャーは、より良い位置合わせとコントロールのために少し追加費用を払う価値があります。作業中はブレスレットの仕上げを保護するため、折りたたんだ布や時計マットなど柔らかい面で作業してください。
ステップ1:方向矢印を見つける
ピンを外す前に、ブレスレットの内側または端に刻まれた小さな矢印を探します。この矢印はピンを押し出す方向を示しています。ほとんどのブレスレットでは矢印は留め具の端を指しています。
このステップは省略できません。割ピンを間違った方向に押すと、コマの中で曲がる恐れがあり、取り外しが非常に難しくなり、コマ自体を傷める可能性があります。矢印が見つからない場合は、時計の取扱説明書やメーカーのウェブサイトを確認してください。
ステップ2:外すコマ数を決める
時計を手首に着けて、どこが緩いか確認します。適切にフィットしたブレスレットは締め付けず、指一本分以上は手首の上で滑りません。外す必要のあるコマ数を数えます。通常は留め具の両側で1~2コマずつが均等なバランスです。
可能な限り留め具の両側からコマを外して、留め具が手首の中央に来るようにします。片側だけから全てのコマを外すとバランスが崩れます。
ステップ3:割ピンを取り外す
- ブレスレットを高く置く:ブレスレットを高くした場所に置きます。時計用クッション、容器に張ったテープ、またはほとんどのピンプッシャーキットに付属するスロット付き台などです。ピンが抜ける場所が必要です。
- プッシャーを揃える:ピンプッシャーの先端をピン穴の真上、90度の角度で位置させます。斜めの角度はプッシャーが滑ってブレスレットを傷つけるリスクがあります。
- 矢印の方向に押す:一定でコントロールされた力を加えます。ネジ式プッシャーの場合はゆっくり回し、ハンマー式の場合は強い一撃ではなく軽いタップを使います。ピンはコマの反対側から出始めるはずです。
- ピンを受け止める:ピンが抜ける際に受け止めるため、小さな容器や布を用意してください。割ピンは小さく、作業台で紛失しやすいです。
- 取り外す各コマについて繰り返します。
ステップ4:ブレスレットの再組立て
- 残りのコマを揃える:保持するコマと一緒にブレスレットを持ち、両側のピン穴を合わせます。
- ピンは矢印と反対方向から挿入する:スプリットピンの丸まったまたは広がった端を最初に、矢印の反対方向から挿入します。これは取り外しの逆手順です。
- ピンを軽く叩くか押してしっかりはめる:ピンはリンクの表面と同じか少し下に収まるようにしてください。両側に突き出してはいけません。
- 接続部分を確認する:リンクを前後に曲げてみてください。ピンがずれたりリンクが緩んだりせず、自由に動くべきです。
- 手首でフィット感を確認する:ブレスレットはきつすぎず快適で、指一本分程度の動きがあるのが理想です。
ブレスレットを傷めないためのヒント
- 予備のリンクとピンは保管する:小さな袋に入れて時計箱と一緒に保管してください。ピンは使用により摩耗し、特定のブレスレット用の交換部品を入手するのが難しい場合があります。
- 柔らかい作業面で作業する:布や時計用マットを使うと、硬い作業台にブレスレットが当たって傷がつくのを防げます。
- 固いピンには潤滑剤を少量塗布:ピンが動かない場合は、ピン穴に時計用オイルや軽い機械油をごく少量塗ると効果的です。ブレスレットにはWD-40を使用しないでください。
- 急がないでください:無理に外そうとして損傷したスプリットピンは取り出しにくく、専門的な対応が必要になることがあります。落ち着いて丁寧に作業する方が、速くて無理に行うよりも結果的に早いです。
ブレスレットを時計職人に持ち込むべき時
ほとんどのブレスレットのサイズ調整は自宅で簡単に行えます。リンク内のピンが明らかに曲がっていて軽い力では動かない場合、リンク自体が損傷している場合、または専用工具が必要な独自のシステムを使用している場合は、時計職人に持ち込んでください。多くの独立した時計職人は、少額の料金で30分以内にブレスレットのサイズ調整を行ってくれます。
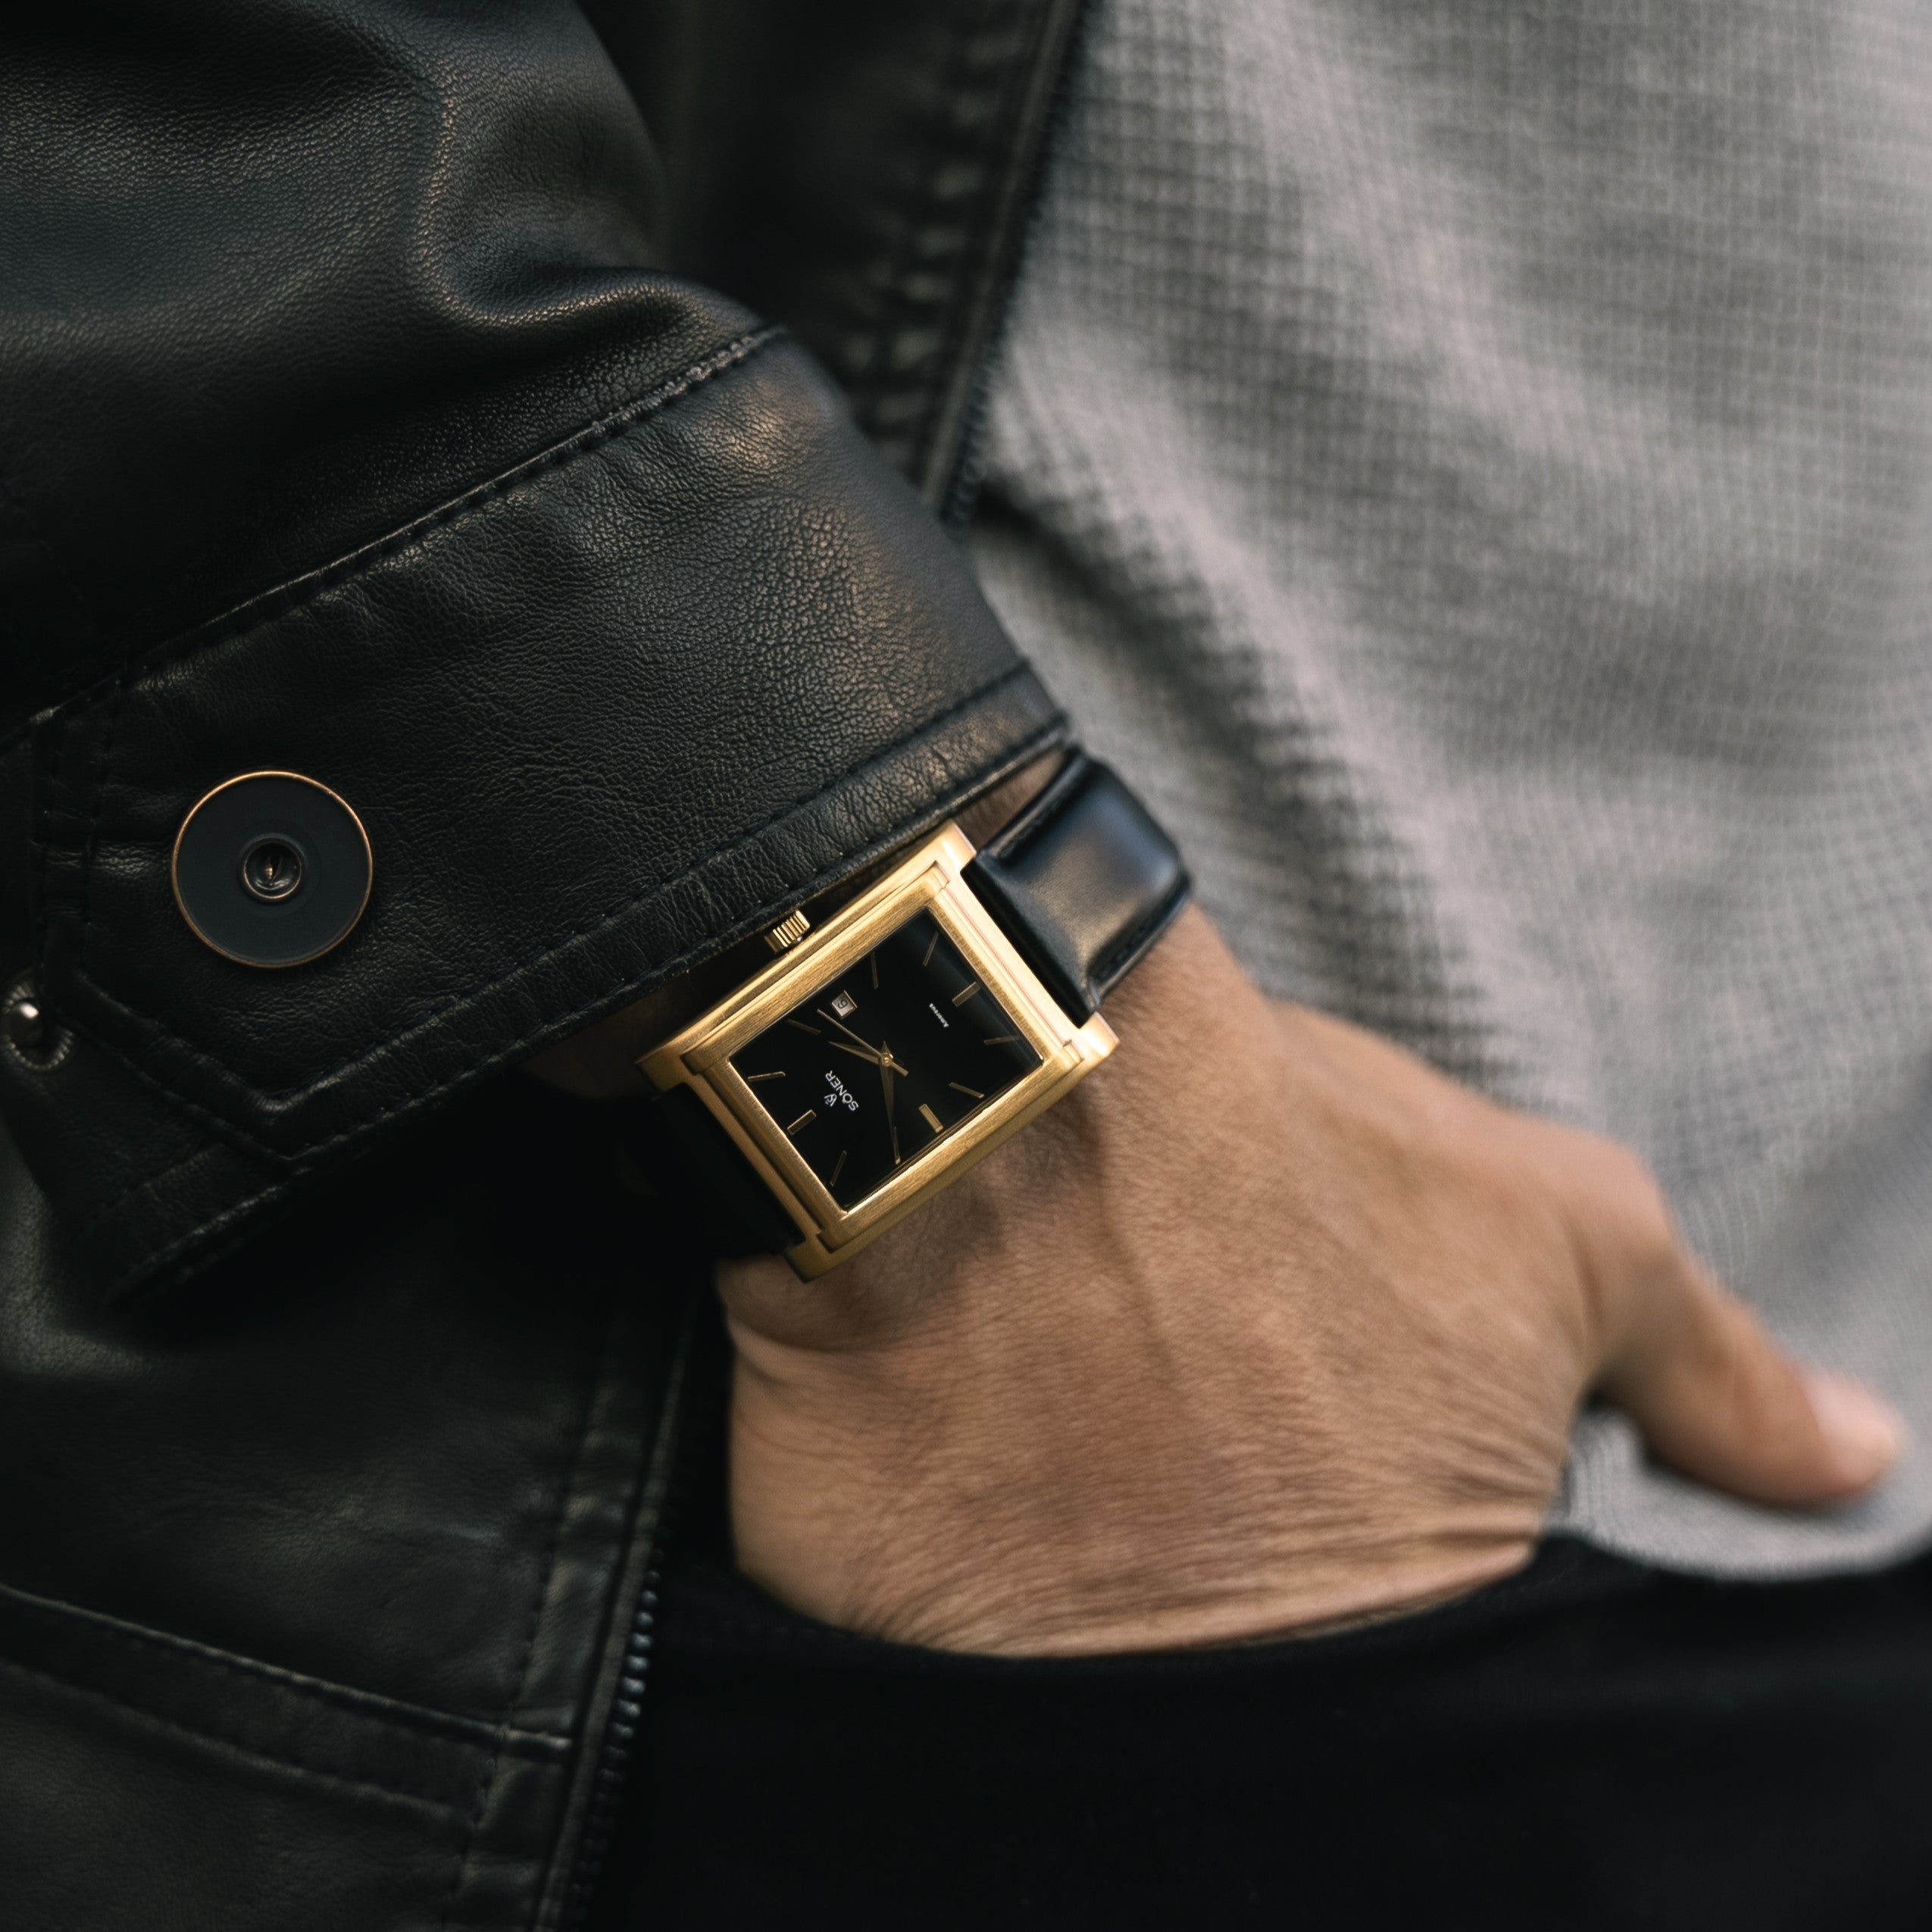
時計のケアに関する詳細なガイドやビデオチュートリアルは、Söner Watches YouTubeチャンネルをご覧ください。Sönerの長方形時計用のブレスレットやストラップのオプションについては、時計バンドコレクションをご覧ください。手首に合った時計サイズの選び方については、時計サイズガイドをご参照ください。
よくある質問
ピンを押し出す方向はどうやってわかりますか?
ブレスレットのコマの内側の端や裏側に、小さな矢印が刻印されているか探してください。矢印はピンを押し出す方向を示しています。矢印が見当たらない場合は、時計の取扱説明書を確認するか、取り外しを試みる前に製造元に問い合わせてください。
特別な工具なしでブレスレットのサイズ調整はできますか?
安全ではありません。ピンプッシャーは基本的で安価な工具で、2~3ドル程度で購入でき、きれいにピンを外すのに役立ちます。爪や小さなドライバーでスプリットピンを押し出そうとすると、滑ってブレスレットを傷つけたり、リンク内でピンが曲がったりするリスクがあります。この工具は購入する価値があります。
時計のブレスレットのサイズ調整には何コマ外せばいいですか?
これは手首のサイズと現在のフィット感によります。適切にフィットしたブレスレットは、指一本分の動きの余裕があり、腕を上げたときに手の方へ滑りません。ほとんどの調整は合計で1~3コマの取り外しが必要です。クラスプの両側からコマを外して、手首の中央にブレスレットが来るようにしてください。
ピンが固まって抜けない場合はどうすればいいですか?
ピン穴に少量の軽い潤滑剤を垂らし、数分待ってから再度試してください。力を強くするのではなく、一定のコントロールされた圧力をかけてください。ピンがまだ動かない場合は、リンクを傷つけるリスクを避けるために時計修理店に持ち込んでください。固着したピンを無理に外すと、リンクやピンプッシャーの先端が壊れることがあります。
スプリットピンをネジに交換できますか?
ブレスレットのコマが同じ穴のパターンでネジを受け入れるように設計されている場合のみです。ほとんどのブレスレットはどちらか一方のシステム用に設計されており、切り替えはできません。もしブレスレットのスプリットピンが繰り返し摩耗する場合は、システムの変換を試みるよりも製造元に交換用ピンについて問い合わせてください。
Sönerの時計ブレスレットはスプリットピン式ですか、それともネジ式ですか?
Sönerのブレスレットは、ストラップの取り付け部分にクイックリリースシステムを採用しており、自宅で簡単にストラップの交換ができます。ブレスレットのコマ調整については、このガイドで説明されている標準的なスプリットピン方式に従います。交換用コマやサイズ調整のサポートは、Söner Watchesカスタマーサポートでご利用いただけます。


